How to Layout Wall Paneling
A clean layout is what separates “DIY” from “built-in.” Use this workflow to avoid skinny end panels, uneven spacing, and awkward alignments.
Video walkthrough: measuring & planning your layout
This video is a solid visual companion to the steps below. Watch it once end-to-end, then use the checklist on this page while you measure and plan. (Tip: most wall paneling layouts repeat a panel + stile module, and stiles are often kept the same width throughout—3.5" is a common choice.)
- Measure width in multiple spots so you’re designing to the real wall, not the ideal wall.
- Decide on a target panel width range before locking in the number of panels.
- Adjust your plan to avoid skinny end panels at corners/returns.
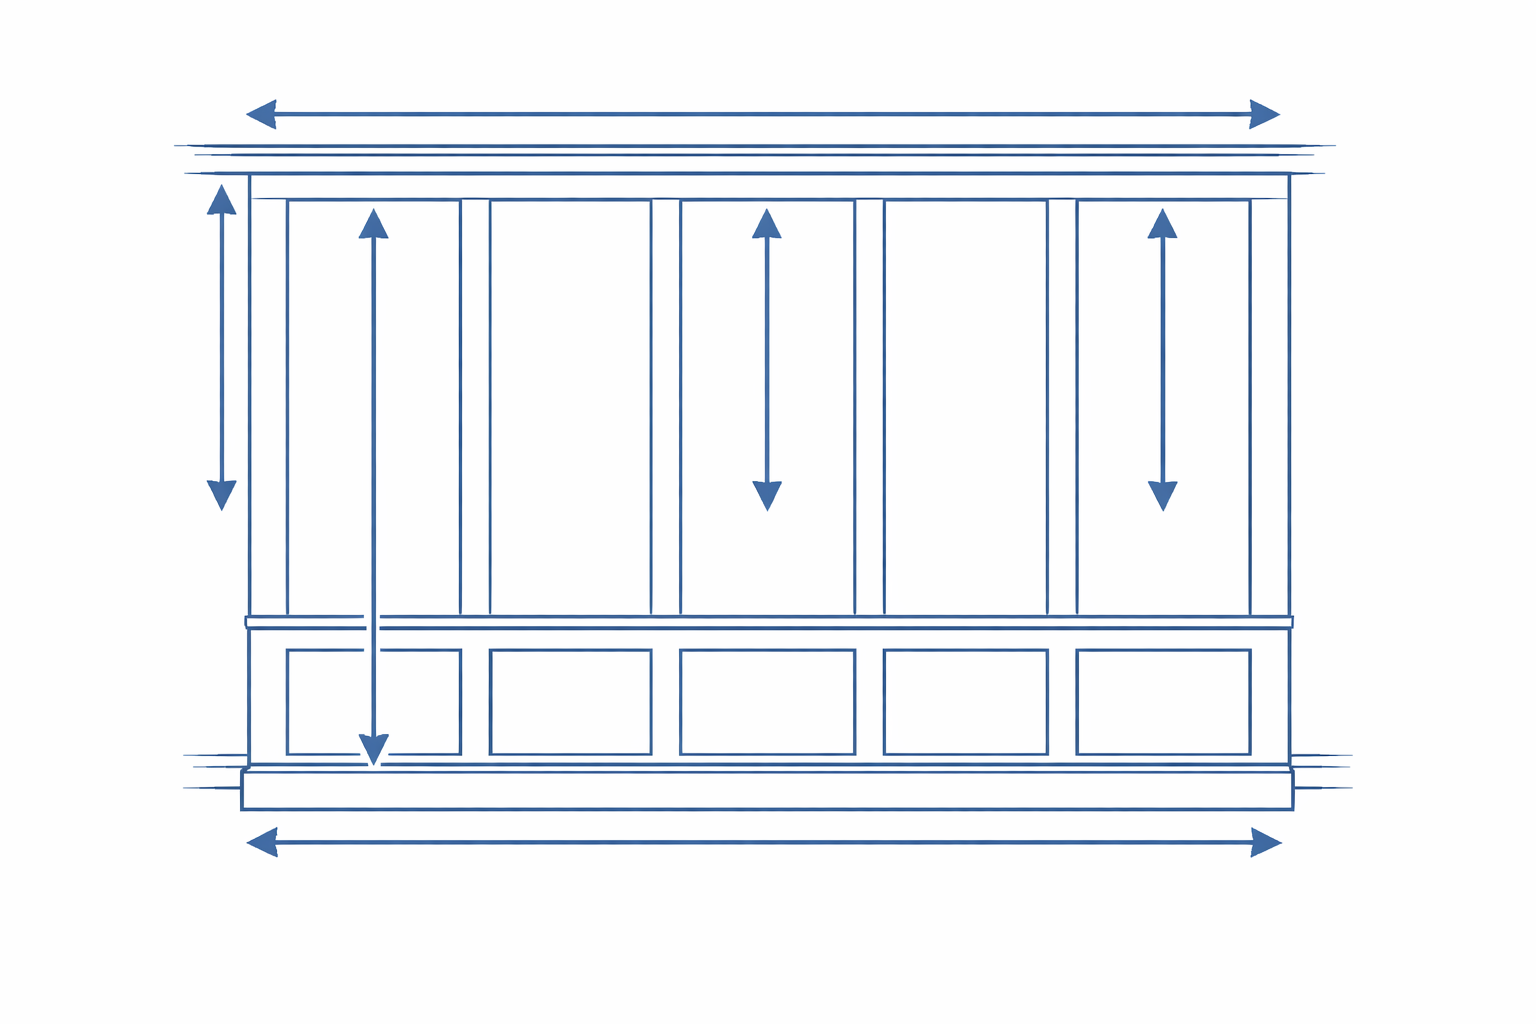
1) Measure the wall (in multiple spots)
- Measure total width at the top, middle, and bottom.
- Measure height at left, center, and right.
- Note doors/windows and any obstructions (outlets, returns, switches).
Walls are rarely square—build your plan around the reality you measure, not the assumption.
2) Pick a style and define your “modules”
Your layout is basically repeating modules: panel + stile (and possibly rails). Decide on a target panel width range before locking anything in.
- Traditional: narrower panels, more repeats
- Modern: wider panels, fewer repeats
- Two-over-one / one-over-two: adds visual rhythm within panels
3) Avoid skinny end panels
If your layout ends with a tiny panel at one side, it will look “off” forever. Adjust panel count, stile widths, or center alignment so both edge panels feel intentional.
A practical rule: try to keep your smallest panel at least 50% of the main panel width.
4) Center on a feature when it matters
For focal points (bed centerline, vanity center, TV, fireplace), set a feature center and snap your layout to it so the design reads symmetrical.
5) Mock it up before you cut
- Tape vertical lines where stiles land
- Stand back and check spacing at corners/trim transitions
- Adjust before committing
Once your layout is finalized, head to the step-by-step installation guide for tools, backerboard prep, and the full install process.